
Help › Start here
Getting started
Sign in, learn the layout, and add your first computer. About fifteen minutes from start to a computer showing up on your dashboard.
bananana.dev looks after every computer your company has (Windows PCs, Macs and Linux servers) from one place that you own. This page takes you from your first sign-in to your first computer on the dashboard. Every step links to a page with more detail if you want it.
What you need
- Your bananana.dev dashboard address and an account on it. Whoever set up bananana.dev for your company sends you an invitation by email; the first account on a new brain is the Owner.
- A computer to add. Windows 10 or 11, macOS, or Linux (Debian, Ubuntu, Fedora, Arch and others). You need administrator rights on it to install the agent, or someone who has them.
- Nothing else. bananana.dev doesn't need open ports, a VPN or changes to your router. Every computer connects out to an encrypted relay.
Sign in
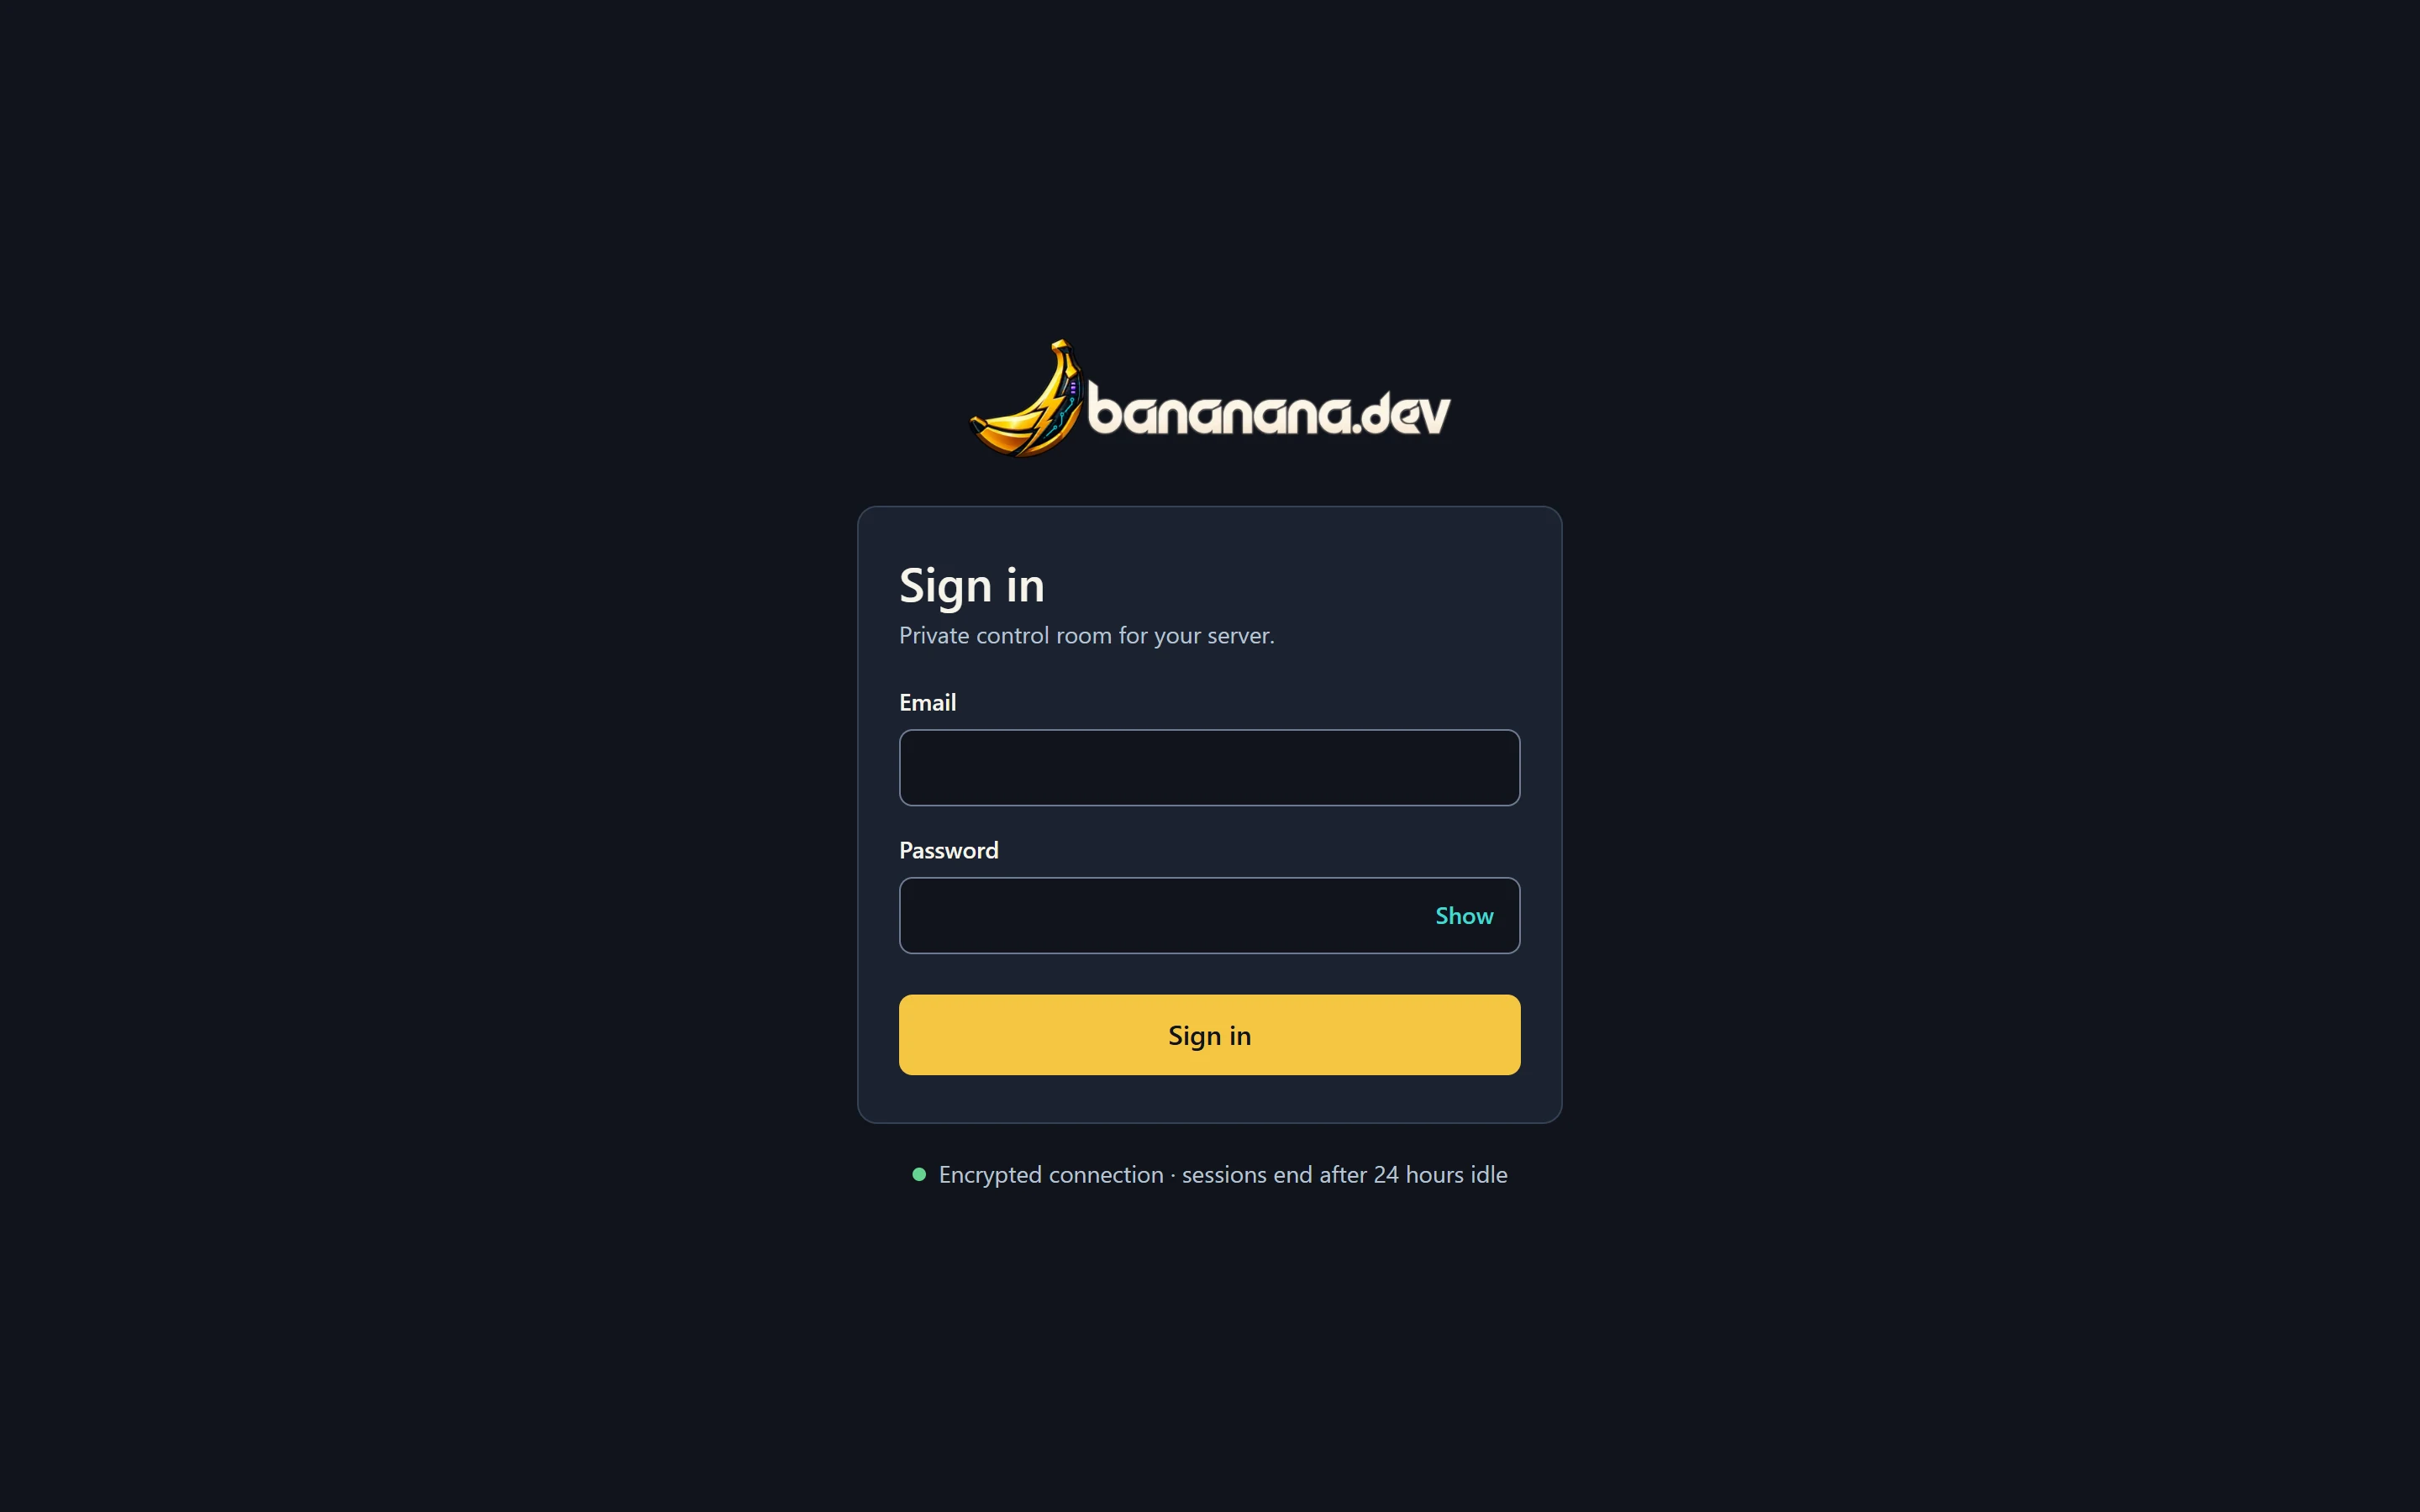
- Open your dashboard address in a browser. You'll see the sign-in page.
- Enter your email and password, or press Continue with Google if your account uses Google.
- If you signed in with a password, bananana.dev emails you a six-digit code (or asks for the code from your authenticator app). Enter it. This second step stops anyone who only knows your password.
More about passwords, authenticator apps and signed-in devices: Signing in and your account.
Find your way around
After signing in you land on the Company overview: every computer bananana.dev looks after, and anything that needs your attention, on one page.
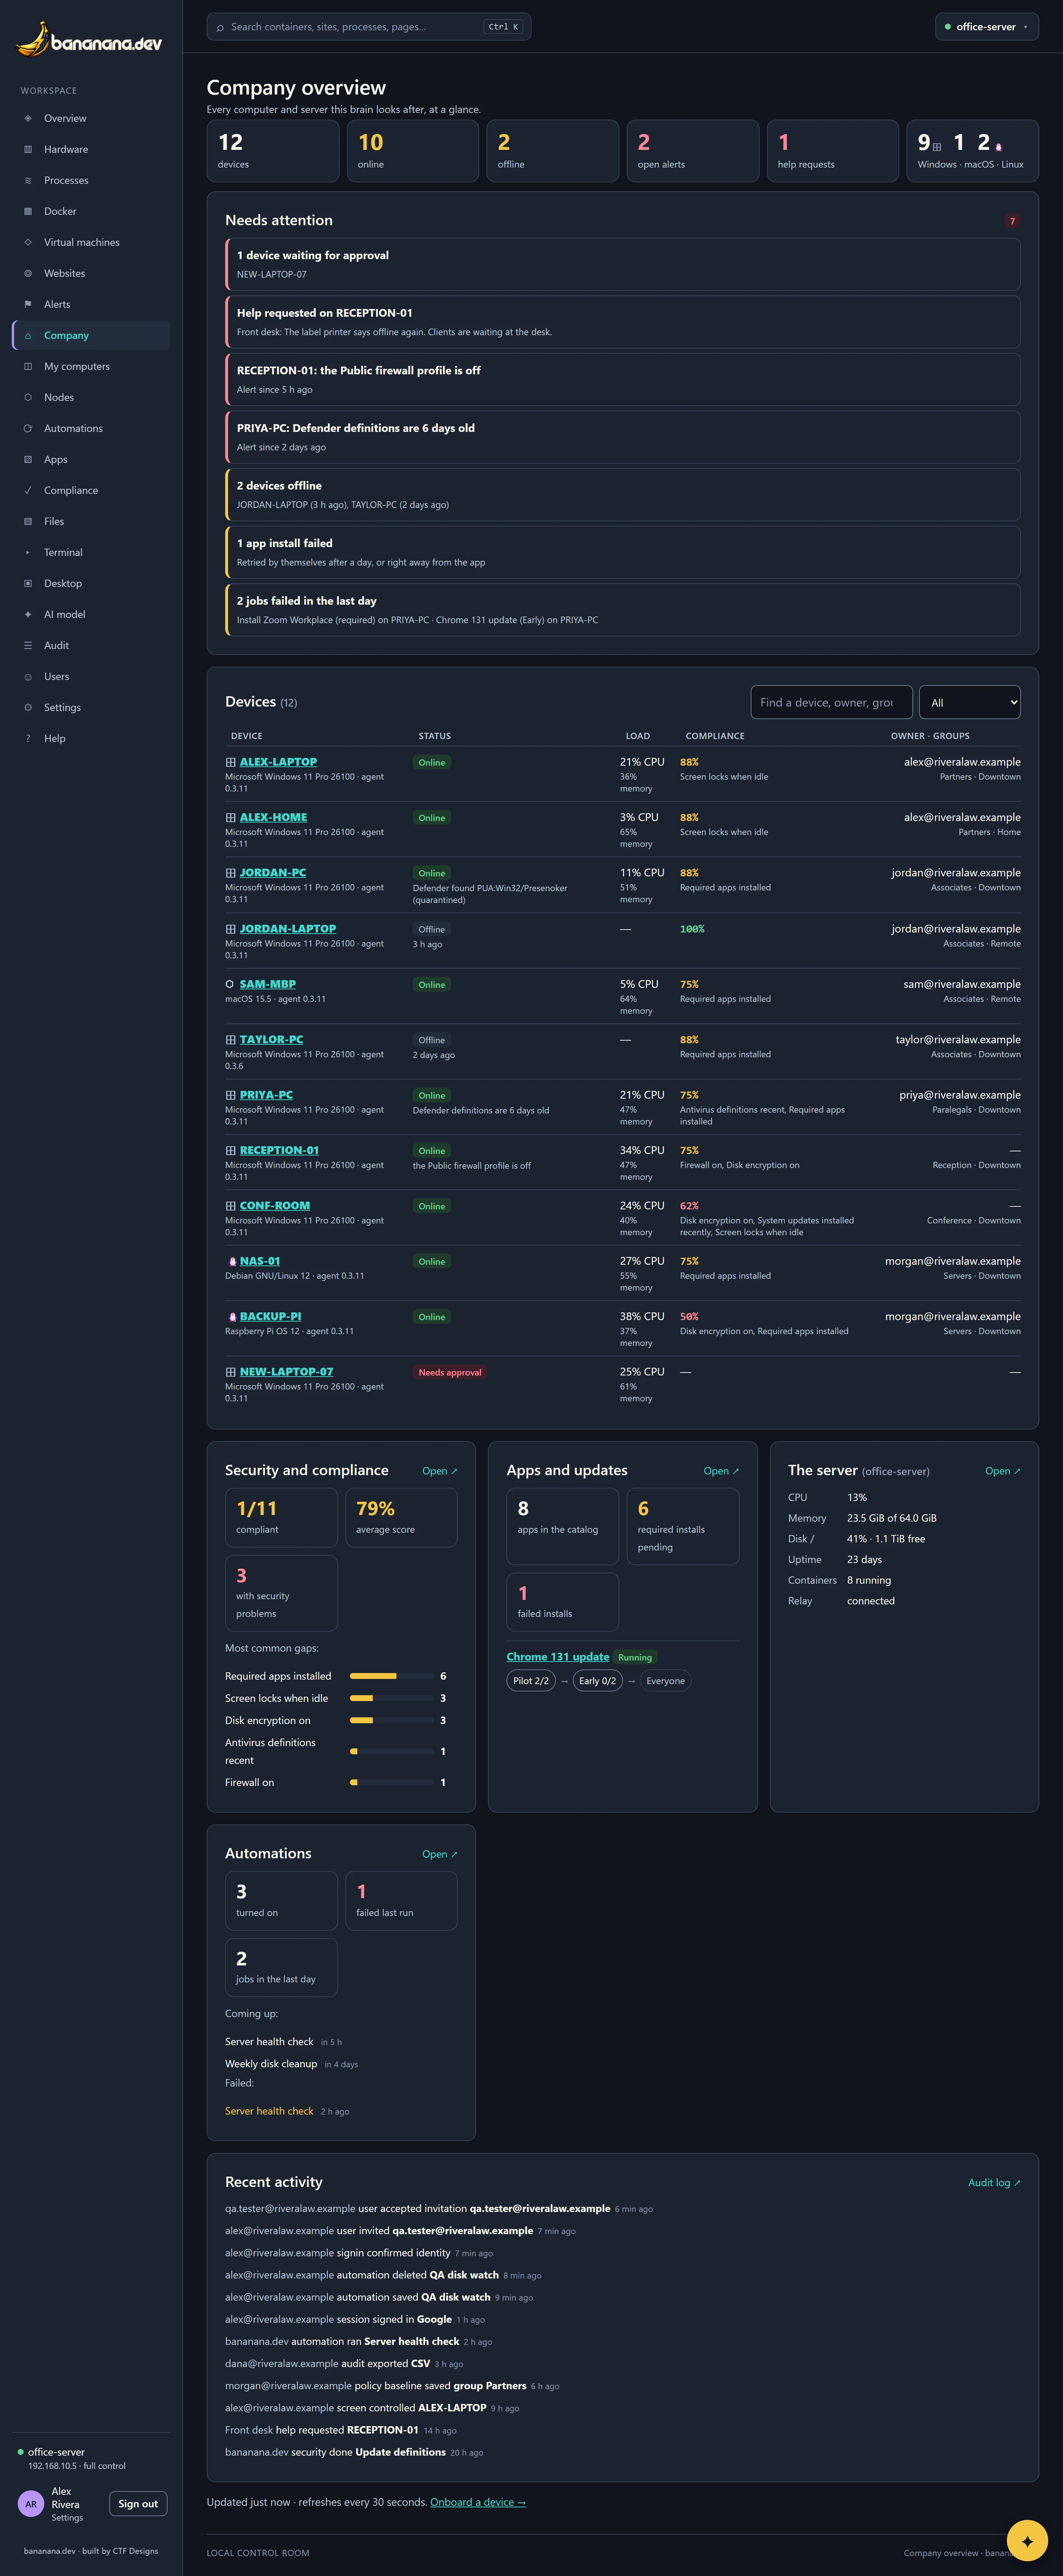
The menu on the left has two groups:
The server itself
Overview, Hardware, Processes, Docker, Virtual machines, Websites and Alerts show the machine bananana.dev runs on (we call it the brain). If you pick another computer in the switcher at the top right, these pages show that computer instead.
Your company
Company, My computers, Nodes, Automations, Apps, Compliance, Files, Terminal, Desktop, AI model, Audit, Users and Settings. You only see the items your role allows.
Two shortcuts work on every page: Ctrl+K (⌘+K on a Mac) opens search, and the yellow ✦ button opens the AI assistant. The full tour: Finding your way around.
Add your first computer
Pick whichever fits:
| Situation | Use | What the person does |
|---|---|---|
| The computer is in front of you | Install command | Paste one line into PowerShell or Terminal. |
| Someone at home or in another office | Remote code | Downloads the installer from bananana.dev and types an 8-character code like K7QM-4XHT. |
| Many computers, or Group Policy, Intune or a master image | Deployment key | Nothing: your deployment tool runs the installer with the key. |
For your first one, the install command is quickest:
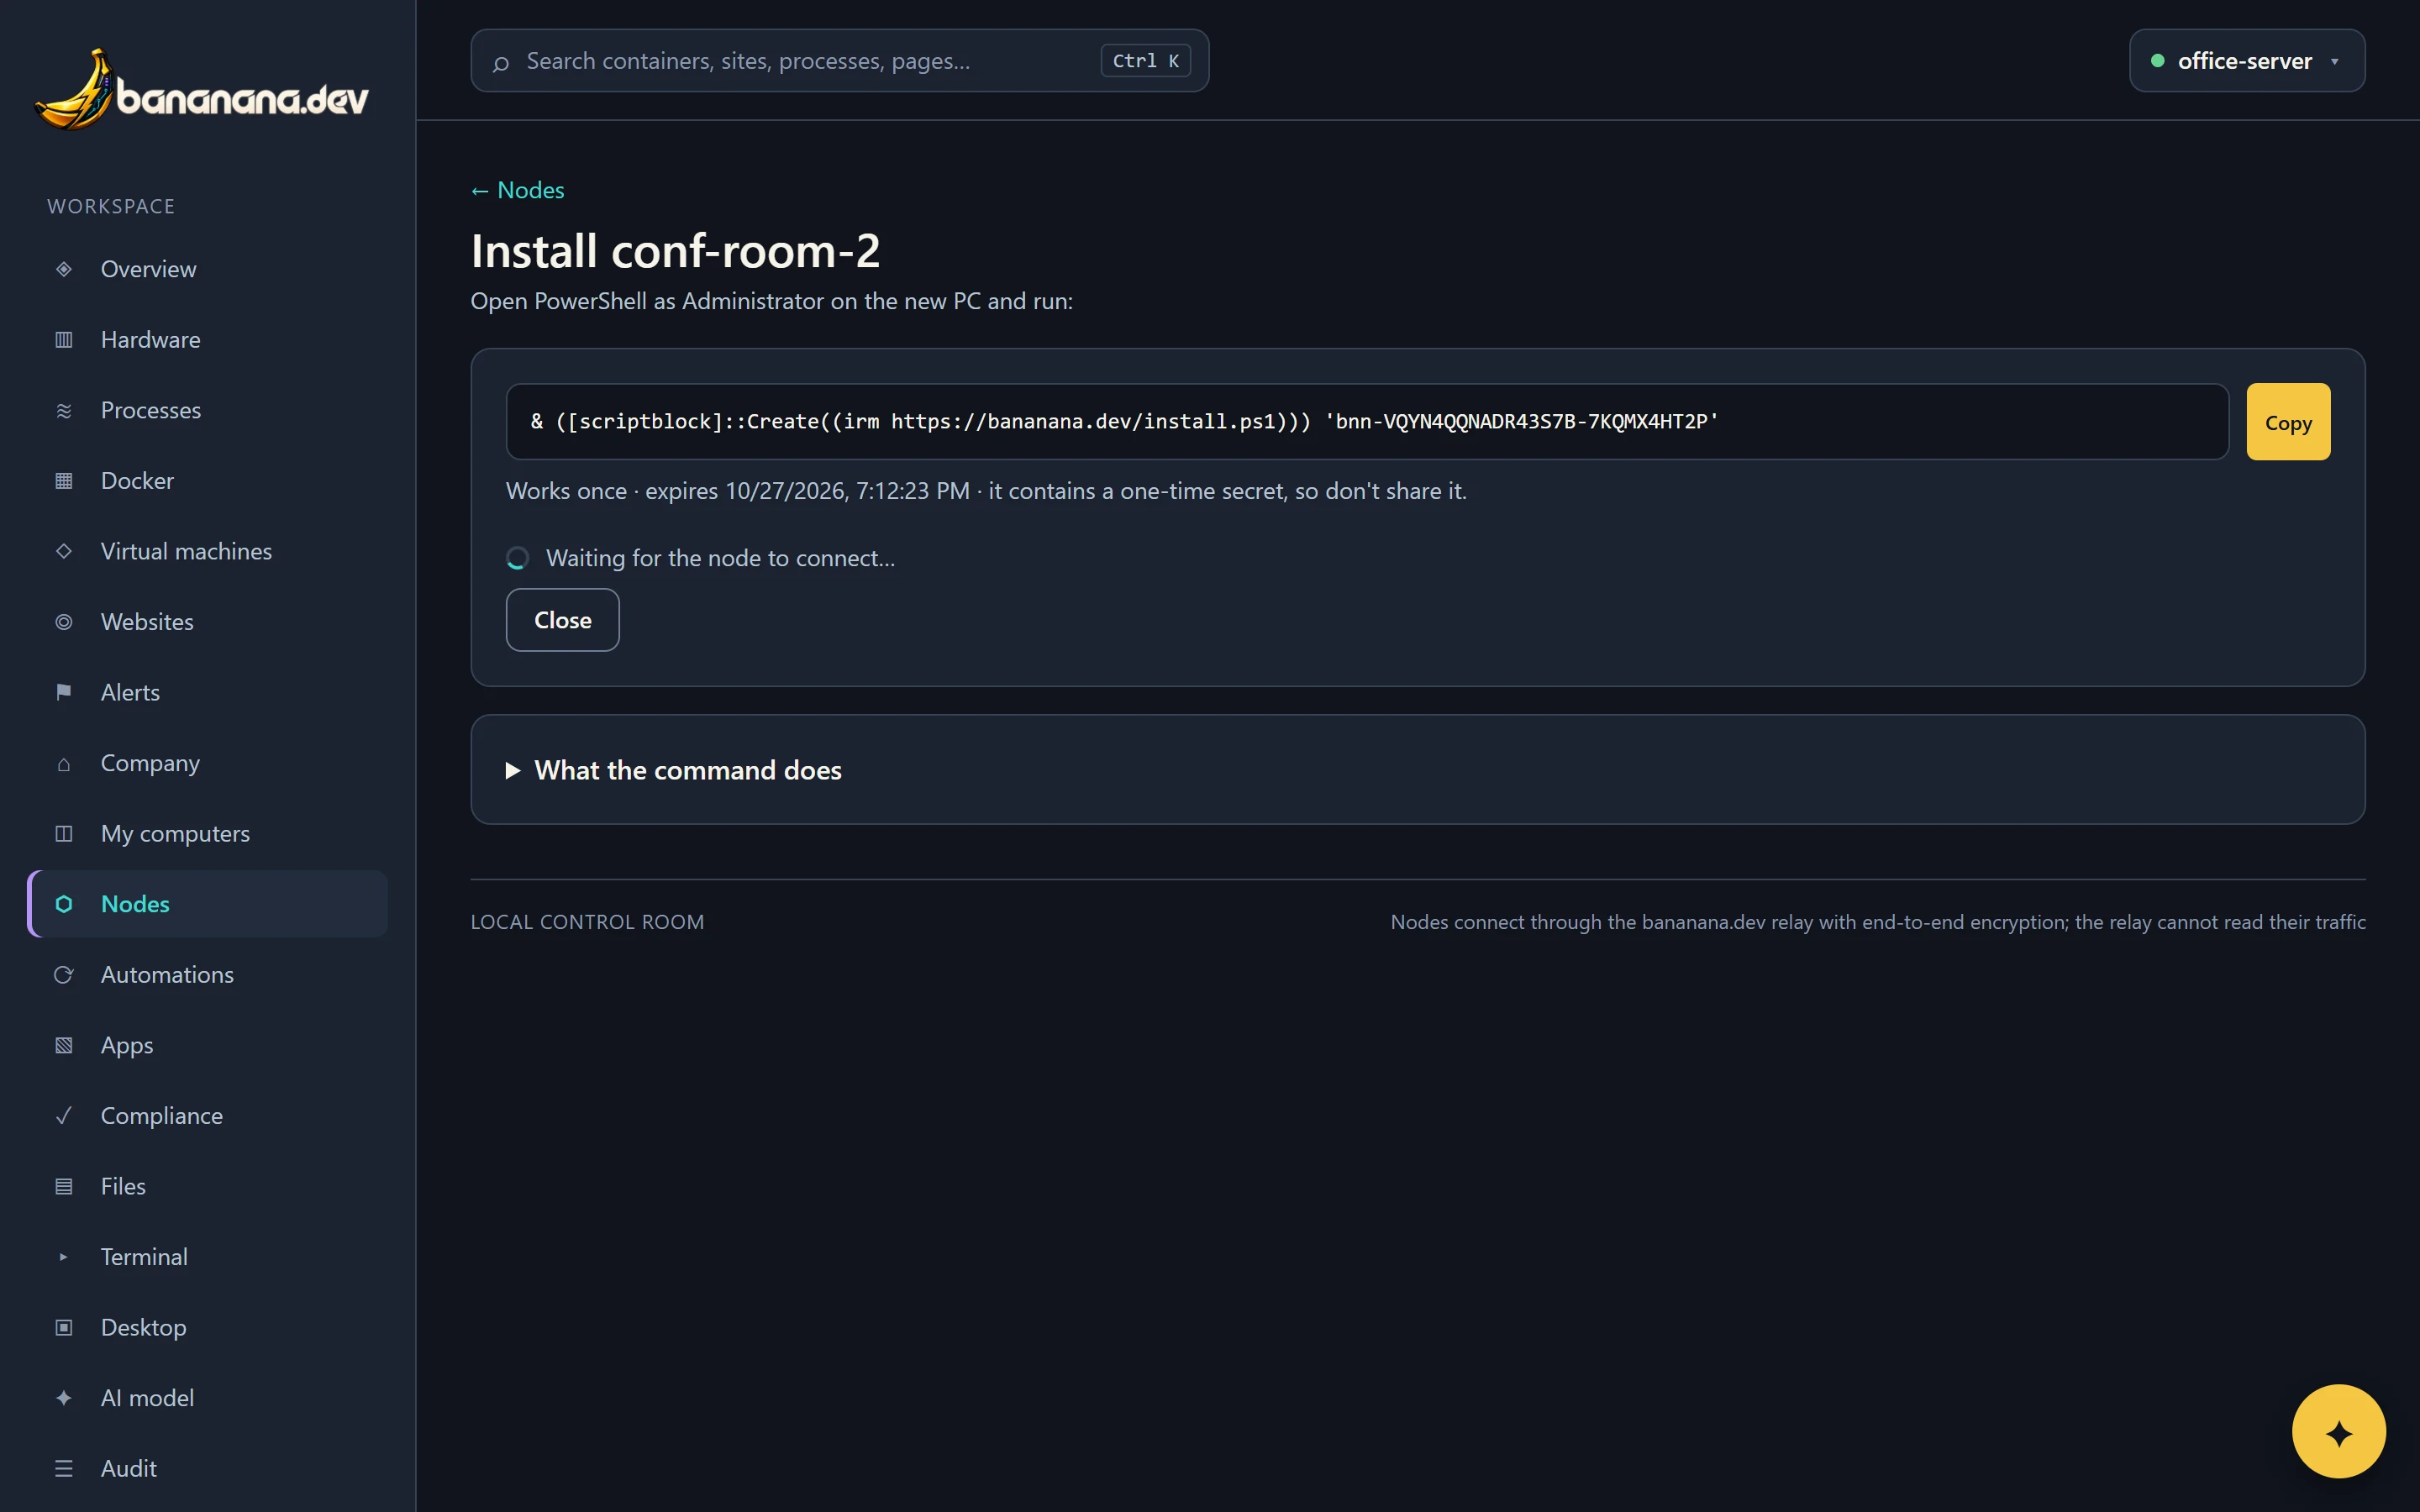
- Open Nodes in the menu and press Onboard a device.
- Choose Install command, give the computer a name, pick its system (Windows, macOS or Linux) and tick the features you want it to allow. Monitor is always on; Terminal, Files, Services control and Screen control are up to you.
- Press Create install command, then Copy.
- On the computer, open PowerShell as Administrator (Windows) or Terminal (Mac or Linux), paste the command and press Enter.
- Within a few seconds the dashboard says Connected, and the computer appears on the Nodes page and the Company overview.
Every way of adding computers, step by step for each system: Adding computers.
What to set up next
- Invite your team and give each person the right role: Users, roles and permissions.
- Assign owners to computers on each device's Device tab, so people see their own machines under My computers and can open them from anywhere: My computers and working from anywhere.
- Add the apps everyone needs, and bananana.dev installs them by itself: The app catalog.
- Check Compliance to see which computers lack disk encryption, updates or a screen lock: Compliance.
- Turn on a couple of automations, like a weekly disk cleanup: Automations.
- Set up the AI assistant with your company's own AI account, so anyone can ask questions in plain words: The AI assistant.
Keeping your brain up to date
A brain you installed from bananana.dev updates itself. Every night it looks for a newer release, checks that bananana.dev signed it, installs it and restarts. If the new version doesn't start, it puts the previous one back by itself. It never goes back to an older release, and your data stays where it is.
Settings › Updates shows the version you're on, when it last checked and how that went. People who can change settings can press Update now, or turn automatic updates off; the page then shows when a new version is out, and Update now installs it.